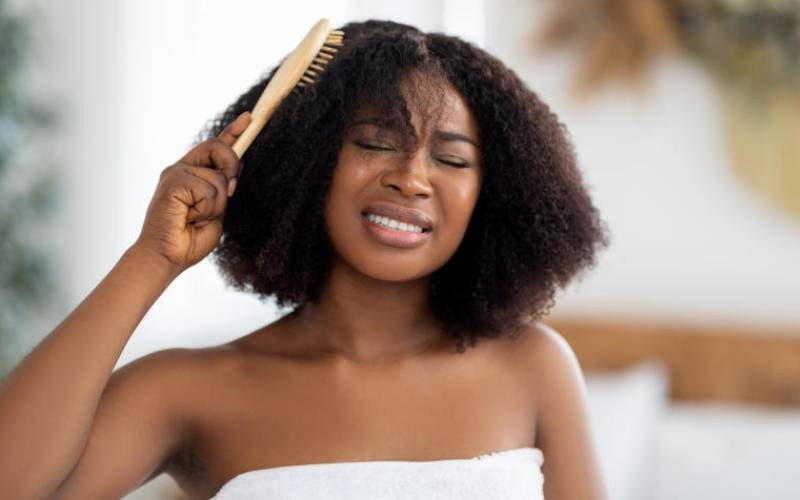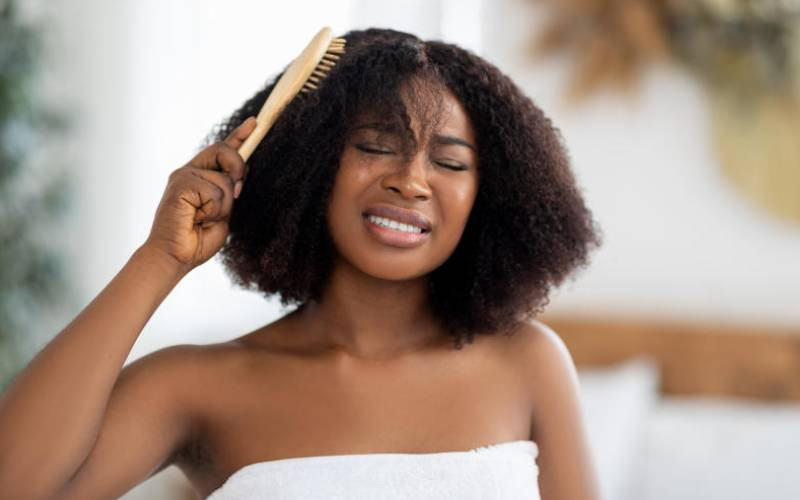
Protective styling is super important for healthy, flourishing hair. Braiding your own hair sounds farfetched if you’ve never tried it, but it’s much easier than you would expect. Not only are you learning a new skill, but you get to control the amount of pulling, which will save your poor delicate hairline!
Here, we break down the easy steps to braiding your own hair in the comfort of your home.
Wash your hairAlways remember to begin braiding on freshly washed hair. This is so that you can avoid product and dirt build-up during the duration of having your braids. Start on a clean slate!

Have a fun with this part! There are so many colours and lengths of braiding hair to choose from. Just remember that jumbo box braids will need more packets (approx. 9). When dividing the braiding hair, choose two equally sized pieces and loop them over each other. Lay them all out so that they’re ready to attach as you part your hair.

If you want to take the plunge and do this step on your own, simply sit in front of a mirror, and if possible, place another mirror behind your head. This is so that you can see the back of your head clearly. Alternatively, you can ask someone (with a lot of time on their hands) to help you part your hair into evenly-sized boxes to your preferred sizing.
As you part each section, apply an alcohol-free hair gel or edge control at the root of each section, and then hold them into place with a small, black rubber band. The rubber bands are optional, although consider them if its your first time braiding because they’ll make it easier to attach the braiding hair. To start, loop the braiding hair around each section, make sure there are three strands and then begin braiding.

Once you’re done braiding your hair, dip the ends of the braids into boiling hot water to seal them. Trim off any strands that are sticking out and et voila! You can accessories your locs with cuffs and metallic string if you’d like.
How good is the tea you make? The Standard Group Plc is a multi-media organization with investments in media platforms spanning newspaper print
operations, television, radio broadcasting, digital and online services. The Standard Group is recognized as a
leading multi-media house in Kenya with a key influence in matters of national and international interest.


