Please enable JavaScript to read this content.
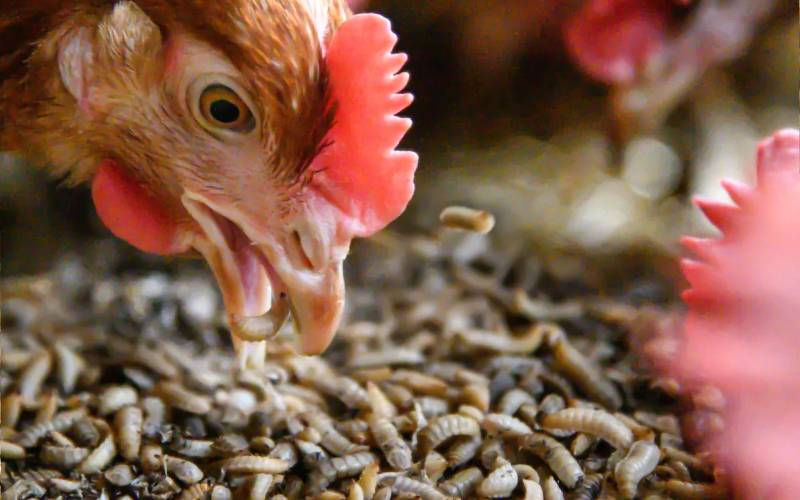
Mealworms are a healthy, nutritious snack full of protein that help hens lay a lot of eggs.
For Joy Waylen, raising worms as chicken feed has become quite easy and very rewarding. She says mealworm combined with sukuma and green vegetables produce yellow-yolked eggs and kienyeji tasting chickens.
Waylen has a five-acre organic farm in one of the Nairobi suburbs – Karen. She uses organic ways to maintain her farm, she grows food, keeps bees, chicken and a few exotic birds.
She has been raising worms for her chicken since the time they started the farm with her parents and uncles.
“The advantages of raising worms do not end with just feeding your chickens. Besides helping to cut down on your feed costs, worms are incredibly proficient at reducing your kitchen waste to compost,” said Waylen.
The compost, called worm castings or vermicompost, is an excellent source of fertilizer for the garden or potted plants.
Waylen says it is rich in humic acids that help condition the soil and contains more nitrogen, more phosphorus and potassium than ordinary soil, nutrients essential for healthy plant growth.
Nutritional Benefits of Mealworms for Chickens
Mealworms are very good for your chicken, in moderation, of course.
Chickens need protein, and more of it when they are sick, growing, molting, or laying eggs. Mealworms and black soldier fly larva pack a protein punch for chickens who need it.
Stressed-out chickens (due to moving, molting, or the addition of a new flockmate) need a little extra protein to get through the low points and emerge on the other side, happy and healthy.
What is needed
All that one needs to raise worms is a container to hold them, food scraps and some kind of bedding.
Stay informed. Subscribe to our newsletter
The bedding can be shredded newspaper, composted manure, fallen leaves, or just about any organic, compostable material.
“Avoid using highly acidic leaves such as the Oak, they are not liked much. I also avoid using white paper because of the bleach used in its production, or colored papers because the inks and dyes may harm the worms,” said Waylen.
Prepare your container
Thoroughly clean and dry your container.
Use large plastic bins with a lid for the container. Drill an eighth to a quarter holes in the bottom of the container for drainage and several holes in the sides and top for ventilation. Choose a size according to how much waste you have. It is very easy to add bins in the future if you find that it is necessary.
You can catch the drainage water by placing the worm bin inside a second bin which has no holes in it. The water that collects should be disposed of periodically.
Add worms
Add worms and food scraps and let them go to work. Red wigglers, eisenia fetida, are best for composting.
“You can usually find red wigglers at a local nursery or they can be bought online. The composting,” said Waylen.
Feed Them and Let Them Grow
You now just need to keep your mealworms fed and let them grow and multiply. You can feed them as much as you like, remember: more food means the more they multiply.
Waylen noted that it is possible to buy mealworm farm kits online, but it is much cheaper and more fun to make your own.
This is also an excellent project for the kids – it is easy, does not require any high maintenance, and is not labor-intensive. It is also a natural, self-replicating food source for your flock.