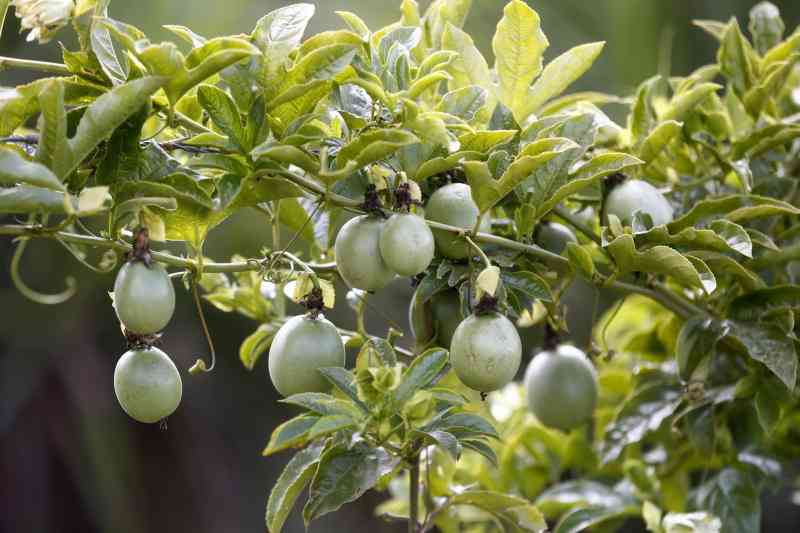
Granadilla Passion farming Guide Propagation and Soil requirements

It thrives in well-drained, sandy-loam soils with a slightly acidic to neutral pH level (6.0 to 7.0.) [Kipsang Joseph, Standard]

Granadilla passion farming is a promising agricultural practice that is gaining popularity in Kenya.

The fruit is large, round, and has a tough skin that is green when immature and turns yellow when it ripens. The fruit is sweet, juicy, and has a distinctive flavor that is similar to that of passion fruit.

Farmer, Wilberforce Maina from Kiambu farms Granadilla, which he also uses to make juices, jams, and other food products.

He says most people confuse granadilla and passion fruit, probably because they are closely related. However, these two fruits are quite different in many ways.

Ecological conditions and soil requirements

The ideal temperature for successful cultivation ranges from 18C to 25C. It thrives in well-drained, sandy-loam soils with a slightly acidic to neutral pH level (6.0 to 7.0.). Proper soil preparation, adequate drainage, and organic matter enrichment contribute to the plant's optimal growth and fruit production.

Propagation

Seed Collection

Collect ripe fruits from healthy and productive Giant Granadilla Passion Fruit plants. Scoop out the seeds from the fruits and wash them thoroughly to remove any pulp or debris.

Seed Preparation

Some farmers prefer to ferment the seeds for a day or two to break the seed dormancy and improve germination rates. After fermentation, rinse the seeds thoroughly and allow them to dry.

Sowing the Seeds

Plant the prepared seeds in seedling trays filled with a well-draining potting mix. Plant the seeds at a shallow depth (about one cm) and lightly cover them with the potting mix.

Germination

Keep the seedlings trays in a warm and humid environment. The seeds will germinate within one to three weeks. Once the seedlings have developed strong roots and leaves, they are ready for transplantation.

Cutting propagation

Identify healthy, disease-free, and vigorous branches from the parent plant. The best time to take cuttings is during the early morning when the plant is well-hydrated.

Using a sharp, sterile knife or pruner, take cuttings that are around 20 to 25 cm long and contain at least two to three nodes. Nodes are the areas on the stem where leaves emerge. Dip the cut ends of the stem into a rooting hormone powder or gel.

"The rooting hormone promotes root development, increasing the success rate of the cuttings," says Maina.

Prepare a well-draining potting mix, which may include a combination of sand, compost, and vermiculite. Place the cuttings into the potting mix, ensuring that at least one node is buried in the soil. Place the potted cuttings away from direct sunlight. Regularly mist the cuttings to maintain humidity and prevent them from drying out.